1.3 Using Blackboard Messages
The Blackboard messaging system offers a secure way to communicate with students about personal concerns, such as their grades. Like an email inbox, the Blackboard messaging system saves all incoming and outgoing messages. This means that all communications between instructor and student are archived for future reference.
Sending a message through the Blackboard messaging system is a fast, simple process that requires very little effort. Start with locating the course menu on the left-hand side of the screen.
Sending a message through the Blackboard messaging system is a fast, simple process that requires very little effort. Start with locating the course menu on the left-hand side of the screen.
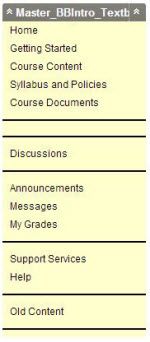
The Course Menu contains all of the primary course links to access all of the "areas" of a Blackboard course. Scan the Course Menu for a link named Messages. Click on the Messages link to access the Blackboard Course Message area.

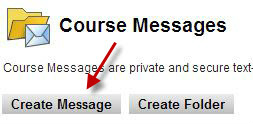
Messages allow students and faculty to send, receive, reply, and save secure messages. This tool functions much like an email system, but with many more text tools. However, the Blackboard Course Message system does not include many of the organizational features found in an email system.

To send a message, begin by clicking the Create Message button.
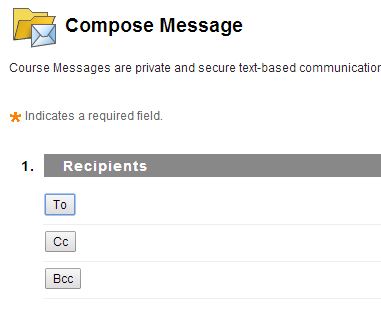
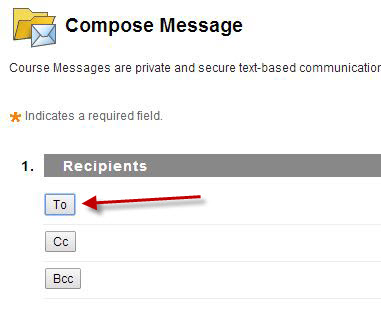
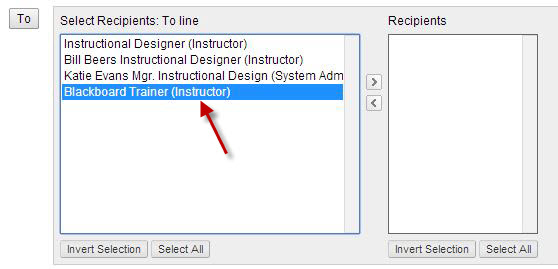
The Compose Message page is where messages are addressed, titled, written and sent. To send a message, you must select a recipient. Click on the To button to see a list of users in the course.
|
|
From the list of recipients, left-click a name and then click the > arrow button. This moves the selected name to the Recipients list.
|
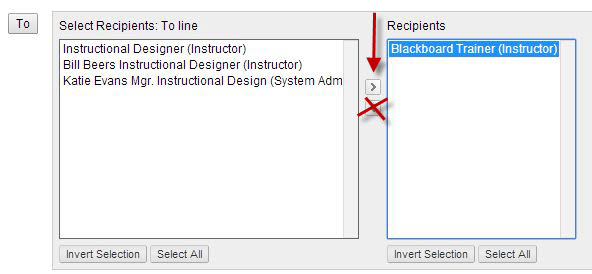
Note: Be careful to not click the "<" arrow button or the name will move back to the Select Recipients section.
|
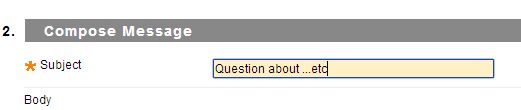
After selecting a Recipient, scroll down to the next section, labeled Subject. Enter a clear name for the message so the Recipient will understand the message's purpose. Additionally, having a clear subject makes it easier to find messages in the future.
After creating a specific Subject, scroll down to the text Body. Write the message to the Recipient in the text Body. Take a few moments to examine the tools provided in this section. Notice how similar these tools are to Microsoft Word? That is because most of them are very similar! Direct the cursor to the blank white space and left-click. Go ahead and write a message intended for the Recipient.

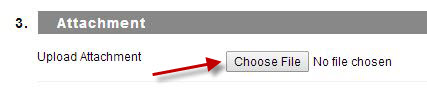
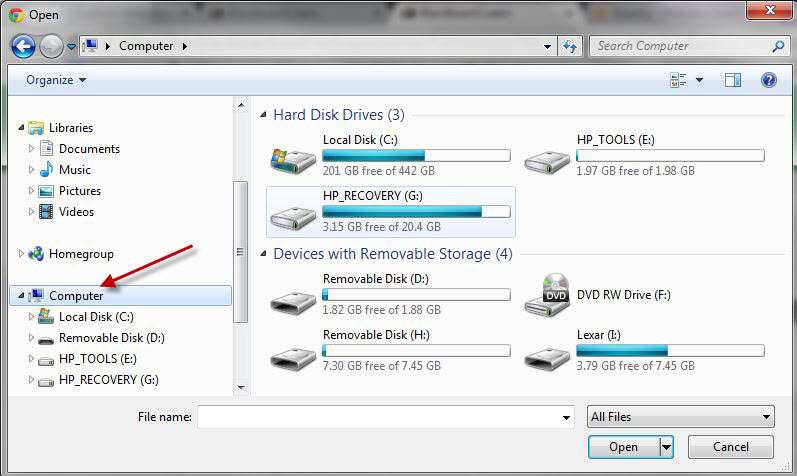
With a Recipient chosen, a Subject in place and a Message written, the last thing to add is a file (if needed). Scroll down until the Attachment section is revealed. Adding a file is as simple as clicking the Choose File button and searching the computer. Once the required file is found, click Open and the file will attach to the message.
|
|
Hit the Submit button at the bottom of the page, and the message is sent to the Recipient. To confirm that the message was sent, just go back to the Course Messages page and click on the Sent folder. Every message sent is archived here.
Next Step
When you are ready, move on to Section 1.4 Using the Discussion Board
